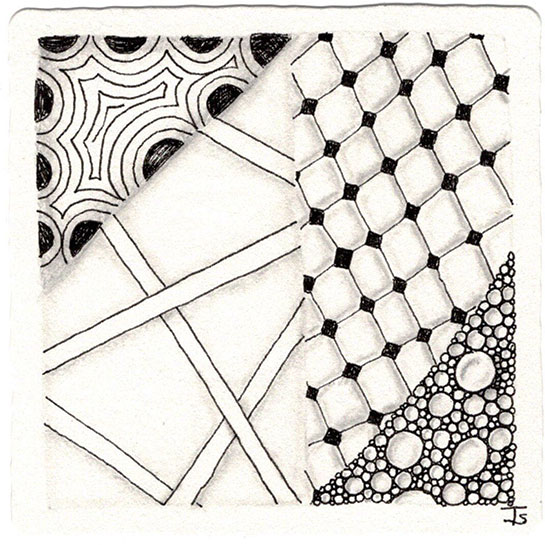
Random string, random and selected tangles.
Generating random tangles is kind of like opening a box of chocolates…
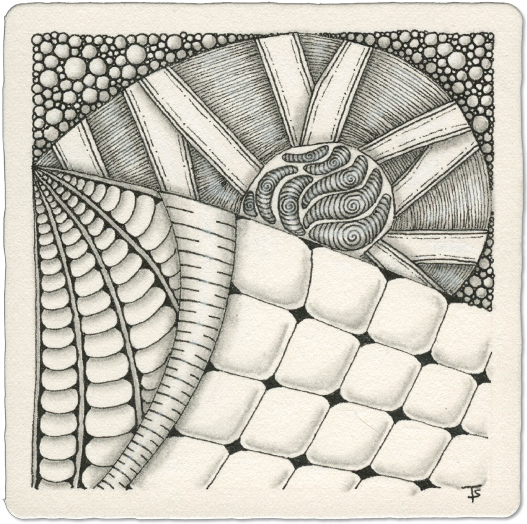
After drawing the string, which I liked, it was time to select random tangles. I knew where to put Claws right away. I also decided to split the V’s to add a little more texture and interest to them.
Next came Sproing. Again, not a problem. I thought it would look fine in that weird, narrow space.
“One Zentangle A Day” by Beckah Krahula - Day 13 - Florz and Onamato
In addition to the two new, dramatic tangles that are introduced, the lesson for this day also includes deconstructing tangles.
I have to be honest here… I don’t generally do well with this concept. I am not sure why, I have tried and tried… But I am just never happy with what I draw. I guess I need a class or two, or find some way to wrap my head around this concept!
Project Pack 7 - Day 3
A beautiful star.
The video for this tile is here .
I am becoming more comfortable with Zendala tiles! I didn’t have many qualms about tackling this day’s drawing… other than it fell on a day of the week when I have the least amount of free time. But that’s ok. I just finished it the next morning.
I am also getting more comfortable working on grey tiles. Right now, here, it is well over 100 degrees every day. The grey and blue combination is very cool and refreshing in comparison!
I used to be really nervous about trying anything based on an ogee grid, such as the African Artist tangle. I think I am finally over it. I have been practicingng drawing Narfello over and over and over, to the point where I am comfortable with it. So when African Artist came up, I was surprised at how easy it now feels!
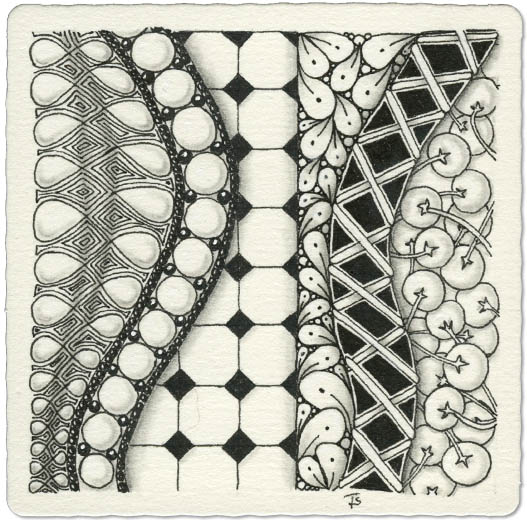
Zentangle drawn on a standard, white Zentangle tile using a black, Micron pen. Shading done with graphite pencil. Highlights done with white chalk pencil.
I am home!
I know that sounds a bit odd, but if you had my life since the beginning of the Covid pandemic, you would understand. The last original tile I posted was May 26, 2020. Certainly a long time ago!
Since then, I’ve moved 4 times. My stuff has been in and out of storage in three different cities, and I now have a teenager and a pet!
This deceptively simple tile was so meditative because I took my time with the linework.
A great trick to use, to get the spacing even is to “divide and conquer.” What I mean by that is to begin by dividing the space in half, vertically. Then divide each half in half again. Repeat until you are happy with the divisions.
Then divide the horizontal spaces. In the case of this tangle, they are equal to the width of the vertical divisions, making a square. Or there about.
I had a private class with a very artistic, imaginative young lady on Saturday. She wanted to know what the Zentangle method was, so we sat together and I taught the Basic Beginner’s Class.
She was so much fun to work with because she is already a gifted artist and has an inherent understanding of things like drawing behind, line weight, shading, and auras!
As I was showing her the way we do things in Zentangle, she was showing me how she does similar things. I learned a lot from her, and about her, and I’m looking forward to working with her again in the future!
How do you challenge yourself? As an artist I’m always looking for different things to try as ways to grow and expand my skills.
Here, this tile was drawn entirely with my left hand. I even signed and dated the back with my left hand.
Why?
Well, first of all, I wanted to see if I could. In addition, drawing with your non-dominant hand builds new neural pathways in your brain. It also challenges you to look at things in a different way, and helps you to understand how your students, those that use a differnt hand to draw, are challenged to follow your instructions!
This is my finished tile from the Tuesday Beginner’s Class. I rarely finish my tile during the sessions because I’m busy helping the students. However, I do always finish them eventually. I don’t mind having many tiles with the same design.
I can always create my own, personal mosaic!
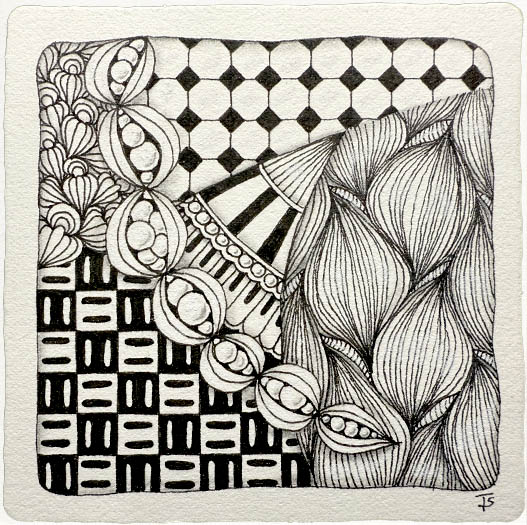
Zentangle drawn on a white, Official Zentangle tile using a black, Micron pen. Shading done with graphite pencil.
Tangles: Bales Florz Hollibaugh Tipple
Another tile from a Beginner’s Class this week. I may have enough of these to create my own Mosaic!
I never get tired of drawing these. Each time, while they always have the same plan, they come out somewhat different. It depends on the day, the artist, and what they feel like doing.
It’s one of the wonderful things about the Zentangle Method!
Zentangle drawn on an Official Zentangle Tile using a black, Micron pen. Shading done with graphite pencil.
I had an introductory class with a private student yesterday. We had a wonderful time together. This is the tile I created while teaching.
Every so often, I think it is very important to go back to the very beginning and do that “first tile” again. Every single person who has taken a class from a CZT creates this tile, or one very similar with the classic “Z” string. Sometimes the tangles used vary slightly. But there is so much to learn and remember from that Beginner’s class!
I have taken a lot of time off from traditional tangling. Basically, since the beginning of 2019. Sometimes, you need to take a break to evaluate where you have been… and where you are going. Sometimes, roads take off in unexpected direction. Sometimes we set off the road entirely to explore new territory.
And then the roads, the paths, the discoveries come around to a new understanding of where you were before.
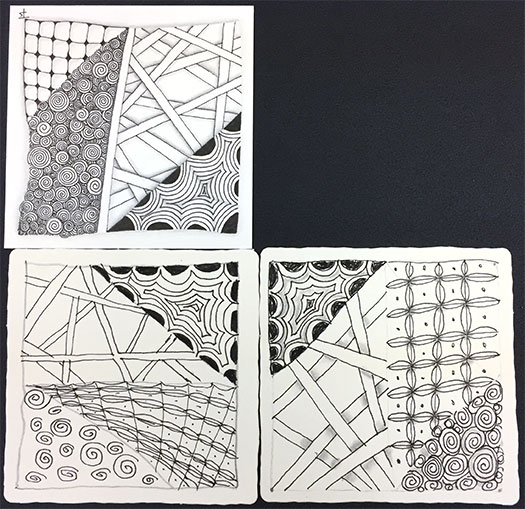
Yesterday I taught a classes at Good Gifts Healing Arts Studio . Above is the mosaic from the Introduction to Zentangle class , including my tile (the one with Florz).
I love sharing Zentangle with others!
Zentangle drawn on Strathmore Vellum Bristol using a black, Micron pen. Shading done with graphite pencil.
Tangles: Bales Crescent Moon Florz Hollibaugh Printemps
Amanda created this tile with the help of her family! She has four children that range in age from 7 to 17 years old.
She started by creating the string and then, each child would roll a dice and select a random tangle. The child would also choose where the tangle would go in the string.
The kids got a big kick out of challenging Mom, and they had a ton of fun. In addition, the final Zentangle came out great!
Monday, July 16, 2018 I taught the first and second Introduction to Zentangle classes at Good Gifts Healing Art Studio .
We had eight eager students in the first session. You can see their tiles above, before we did any shading on them.
The second session was smaller and more personalized, with two wonderful, attentive students. Below, I’ve added my tile to the mosaic to make it more impactful.
I had so much fun with everyone! It was really interesting to listen to each student’s story and find out what brought them to Zentangle and what they plan to do with.
We all came to this particular path from different directions: locations, desires, experiences, expectations, dreams…
Now, we will travel together for a while. Each doing the same thing, but each doing it their own way.
This is our first step on this journey.
My first tile from the CZT30 seminar!
Zentangle drawn on an Official Zentangle tile using a black, Micron pen. Shading done with graphite pencil.
Tangles: Crescent Moon Florz Hollibaugh Printemps
This little Bijou tile is going into my tangle index book. It shows a hybrid between Well and Florz. I like the way, when it is shaded, it looks like it is woven!
Zentangle drawn on an Official Zentangle Bijou tile using a black, Micron pen. Shading done with graphite pencil.
Tangles: florz well fwell
