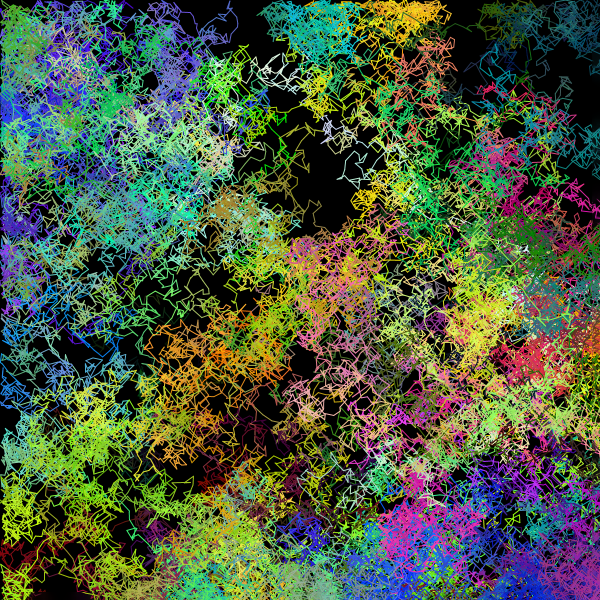
Way back when I did my very first The Artist's Husband post , I used Javascript and p5.js to create a drunken lines drawing, a drawing where the direction of a line (as well as its color) is chosen by random. Doing this over and over again eventually fills the windows with a colorful image such as the one at the top of this post.
Here is a Nannou app which does pretty much the same thing:
This is my first real new post since 2020. All the ones posted at the end of 2023 were written back in 2020, and have been backlogged while we dealt with personal issues. New year, new posts!
In my previous posts, I’ve explored some basic generative art in a variety computer languages and art frameworks. We tried Javascript with p5.js , Clojure with Quil , and Java and Processing . I don’t have any post to document it, but in the past few years, I also experimented with Kotlin and Go for artwork.
Let’s draw some squares!
Last week I introduced Clojure as a possible replacement for Javascript for my generative art pursuits. Clojure has the Quil library that provides many of the same capabilities that p5.js provides to Javascript. Let’s look at a simple example. This Javascript/p5.js program generates an image like the one at the top of this post.
function setup() { createCanvas(800, 800); background(240); stroke(0); let size = 500; let offset = 50; let centerX = width/2; let centerY = height/2; let topLeftX = centerX - size/2; let topLeftY = centerY - size/2; fill(200, 150, 250, 150); rect(topLeftX, topLeftY, size, size); rect(topLeftX-offset, topLeftY-offset, size, size); rect(topLeftX+offset, topLeftY+offset, size, size); } The program is fairly simple: create the canvas, fill in the background with grey, set the stroke (line) color to black, set the fill color, and draw three rectangles slightly offset from each other. If you’ve been following along with my previous posts, this looks pretty basic. The only remotely tricky thing going on here is that the fill() function has a fourth parameter. The first three set the red, green and blue components of the fill color, while the fourth sets the transparency. This is what allows us to see the through the squares, and is what causes the gradations of color where the squares overlap.
If you’ve been reading my posts each week, you’re probably aware that I have been working mostly in Javascript, using the p5.js drawing library. There are many things to like about Javascript, but also many ways for it to slowly drive you bonkers. I won’t go into all those reasons here, but I will say it’s time to try something new. I’d like to try to do some generative art using the Clojure language. This is way out of my comfort zone, since I don’t actually know Clojure, and it is not a simple language, but I thought I’d share my experiences with it here.
The Entanglement library has a few grid-based tangles now: Huggins, W-2 , Ambler and Emingle. But we have limited control over the grid: we can affect the spacing in the x and y directions, and we can add some random fluctuations to where each intersection on the grid ends up. Wouldn’t it be nice if we could warp the grid in some more dramatic ways? Yes, I thought so too! So I spent some time adding some more grid options. This turned out to be harder to do than I thought it would be – I ended up having to rewrite big chunks of the Tangle class, then I ended up subclassing Tangle and creating a special class just for grid-based tangles: GridTangle.
This week I wanted to talk about something a little different, something only peripherally related to art: Behavioral Animation. Behavioral Animation is a kind of computer animation in which an autonomous object determines its own actions by interacting with its environment according to certain rules. Behavioral Animation is a fairly vague term, which covers quite a bit of ground.
The Game of Life A simple example is The Game of Life, developed by John Conway , a British mathematician, in the early 1970s. The game starts with an infinite grid (well, potentially infinite – please don’t try to draw an infinite grid…) with some of the squares filled in. It’s important to notice that each square is surrounded by eight additional squares. Nothing surprising there, it’s just how grids work! Then the squares are modified according to two simple rules: 1) if square that is filled in has either two or three of its eight neighboring squares filled in, then it remains filled in, otherwise it is emptied. 2) if an unoccupied square has exactly three filled in neighbors, then it is filled in. This continues through successive generations. The interesting thing about this is that is mimics population growth. Consider each square to be a living cell if it is filled in. If the cell doesn’t have enough neighbors, it dies (perhaps of loneliness.) If it has too many neighbors, it dies (perhaps for lack of resources.) If conditions are just right, they can reproduce, and new cells appear (we’ll just gloss over the fact that that takes three neighbors, not two!) It turns out this models things like bacterial growth fairly well.
Huggins and W-2 have appeared in the Entanglement library! Huggins and W-2 both look like they have been woven but are really just shapes on a grid connected by lines according to a few simple rules. The difference between them is that Huggins connects circles with curved lines, while W-2 connects squares with straight lines.
In this post, I’ll talk about how I built Huggins (once you build Huggins, W-2 is pretty easy to add) and show some examples of how both are used.
The Entanglement library has a very few (so far) tangle patterns built in which can be used to create Zentangles. New ones get added to the library as I get to them, but you (yes, YOU) as a user can create them too. Warning! This post is mostly Javascript code! If that’s not your thing, avert your eyes now! You need version 0.0.5 of Entanglement to follow along:
<script src="https://cdn.jsdelivr.net/gh/tektsu/entanglement@0.0.5/dist/entanglement.js"></script> In this post, we’ll create a simple grid-based tangle pattern, then use it in a Zentangle. The tangle we’ll create is not particularly interesting, and is not a “real” Zentangle (as far as I know.) It’s just an example to show the process. The Entanglement library only supports two general kinds of tangles so far: a pattern of tangle elements placed randomly on the canvas, such as Aah or BoxSpirals, or a grid with some kind of pattern, such as Ambler or Emingle. We’ll create a grid tangle in this case. We want it to look something like this:
On two occasions I have been asked, ‘Pray, Mr. Babbage, if you put into the machine wrong figures, will the right answers come out?’ […] I am not able rightly to apprehend the kind of confusion of ideas that could provoke such a question.
— Charles Babbage, Passages from the Life of a Philosopher (1864)
In my first post about generative art, I dumped a lot of Javascript on you with only a basic explanation of how it works, and more recently I have given up trying to explain it at all under the theory that most of the people reading these posts are more interested in the art rather than the programming behind it. Also, including a Javascript course here would make for some very, very long articles!
Up until now, the Entanglement library has provided a few tangle elements and a few tangles, which you could draw onto your canvas. But real Zentangles have a border, and might be round or triangular instead of square. To make this easier to do, Entanglement now has the Zentangle class. This is the top-level class you should use to define what your Zentangle should look like.
Here is an example using it. This program drew the image at the top of this page:
Recently I did a post about the Ambler tangle in the Entanglement library. Ambler uses an element called a box spiral. It turns out, box spirals appear in several tangles, most notably the Box Spirals tangle. In this post, we’ll talk about the Entanglement BoxSpiral class, which implements the Box Spirals tangle.
The box spiral used in Ambler as it is implemented in Entanglement is very specific. It consists of nine lines, and always rotates counter-clockwise. Therefore it can only be drawn in four orientations, with the spiral starting from one of the four corners of its enclosing box.
The Entanglement library now supports Ambler! This officially doubles the number of tangles it can produce! Two tangles! Progress! OK, so two tangles isn’t really all that many, but still! Progress!
Using Entanglement to draw a basic Ambler is easy. Here’s the program that generated the image at the top of this page:
const height = 600; const width = 600; function setup() { createCanvas(width, height); background(255); } function draw() { let amb = new Ambler(width, height, {}); amb.paste(new Point(0, 0)); noLoop(); } So how does it work? Unlike Aah, the other tangle supported by this library, Ambler is a repeating pattern in a grid. So, no need for the collision detection we used with Aah; each pattern has a defined place where it can be drawn. The pattern that goes into each grid square is a box spiral. We build that in each square by dividing each square side into 6 sections, drawing a crosshatch of lines through those points and finding the intersections of those lines. We then use those points to draw the spiral.
We have been using the p5.js Javascript library. Several p5.js functions take a color as a parameter. For example, you might call background(color) to set the background color, stroke(color) to set the color used to draw lines, or fill(color) to set the color used to fill in shapes. In our past examples, we’ve set various colors, but we haven’t always done so consistently.
So how do you set colors in p5.js? It turns out, pretty much any way you want to!
In my last two posts , I showed how to draw most of the Aah tangle using the Javascript p5.js library. In this post, the Aah is complete, as you can see from the image below. However, the Javascript code to do so, does not follow directly from what we saw in those previous posts. I have rewritten it and packaged it into a library: Entanglement . More about that shortly.
First, lets talk about how the Aah pattern was completed. You’ll recall that we had successfully generated the 8-armed starburst pattern, and distributed copies of it the around the canvas, with some random variations to make it seem more like it was hand-drawn. We avoided overlapping them by using collision detection: we draw a polygon around each pattern, and then as we create new ones, we check the polygon against those for the patterns we had already drawn to make sure there were no collisions. The final image we generated was nice, but missing something important: an Aah tangle is supposed to have small circles randomly scattered between the starburst patterns.
In my previous post , we came up with a program to generate a single 8-armed component of the aah tangle. In this post, we’ll figure out how to spread them randomly around the canvas, as in the image at the top of the post. We’ll use the program from the last post as a starting point.
As a first try, let’s just generate a draw 20 aah images randomly on the canvas. Our draw() function looks like this:
Any Zentanglers out there who made it through my previous posts on generative art may be wondering whether these techniques can be used to draw Zentangles . Let’s try!
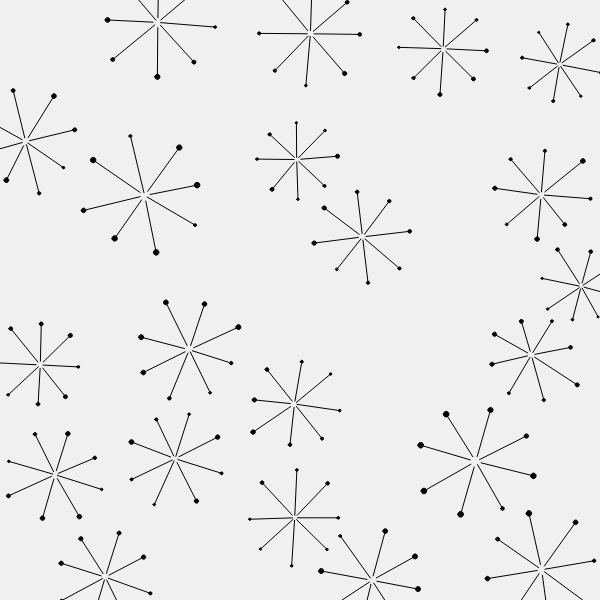
Zentangles are built from patterns, called tangles. We’ll try to create a tangle called aah. This is one of the original tangles from the Zentangle originators . There are many variations of aah. We’ll start with a simple 8-armed design. Tandika’s step-out for it looks like this:
In my last post , I talked about generative art, and showed a simple example using Javascript and the p5.js library. In this post, I’ll show another relatively simple example using slightly different techniques. Basically, the process is still the same: program the computer to generate a simple drawing and add an element of randomness. For this example, I am still using Javascript and p5.js.
Many of you may be unfamiliar with Javascript. In this post, I am using Javascript, and am trying to make it as clear as possible. But I am not trying to teach you Javascript. If you would like to learn more about Javascript or programming in general, there are some excellent on-line resources, some free, some not. Javascript is not the only programming language that could be used, I chose it for this series of posts because it’s probably the easiest to get started with (open the online editor in your browser and just start adding code!) If you are already familiar with another language, there is a good chance you can find a way to do art with it!
I am the Artist’s Husband. Yes, I really am Tandika’s husband, and no I am not really an artist. But I am interested in art!
I am a software engineer. Recently, I have been looking in to generative art , or art which is created through some automated means, and I thought I would share some of what I have learned as well as some of the results of my early experiments.


