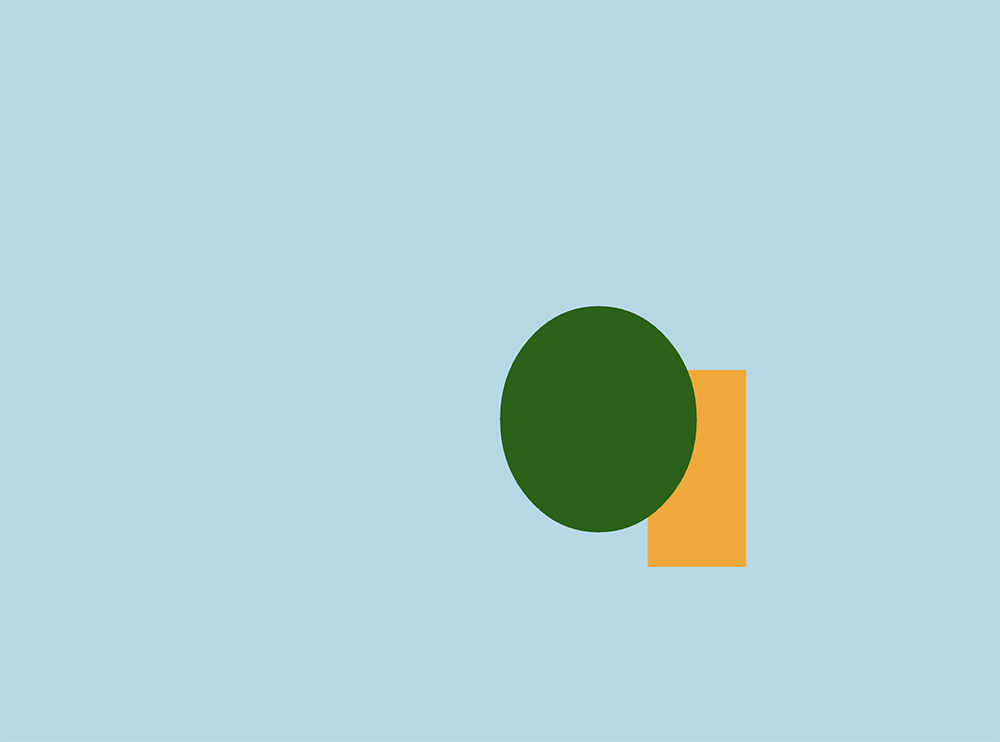
Now that you have Rust and Nannou installed , lets look at a basic Nannou sketch. A sketch in Nannou is a fast way to get a drawing displayed. Here is a simple one which just draws a rectangle and an ellipse on a colored background.
use nannou::prelude::*;

fn main() {
    nannou::sketch(view).run();
}

fn view(app: &App, frame: Frame) {
    let draw = app.draw();
    draw.background()
        .color(LIGHTBLUE);
    draw.rect()
        .color(ORANGE)
        .w(100.0)
        .h(200.0)
        .x_y(200.0, -100.0);
    draw.ellipse()
        .color(DARKGREEN)
        .w(200.0)
        .h(230.0)
        .x_y(100.0, -50.0);
    draw.to_frame(app, &frame).unwrap();
}
So what is going on here? At the top level, the three important parts of this sketch are the use statement, which imports all the Nannou components we need, the main() function, and the view() function. This is, in itself, a complete Rust program as well as a Nannou sketch. In Rust, the main() function is where the program starts – it’s the code that is executed when the program is run. In this case, that is just one line: nannou::sketch(view).run();, but there’s a lot going on on that line!
nannou::sketch() does all the work of setting the system to open a window in which we will display our masterpiece. It is passed view, which refers to the view() function defined further down. nannou::sketch(view) returns a Nannou SketchBuilder object, and on that object, we call the run() method.
So what that line means is “create a sketch window, and use the view() function to draw on it. Then start it running.”
As long as the sketch is running, the view() function just gets called over and over again. In the case of this program, the view function does the same thing every time, so the result is a static image.
Let’s take a closer look at the view() function. It is fairly straightforward. Two values are passed in to the function from Nannou: app and frame. The first one, app, is a reference to the Nannou application. Using app, we can find out a number of things about the application. In this program, all we are doing is getting the canvas we will draw on, and placing it is the draw variable. The second value passed in to the view() function, frame, is the window on the screen which we will draw to.
After we get the canvas, named draw, in the view() function, the next three statements draw a background color, a rectangle, and an ellipse respectively. These statements may look different than you expected, as they use the builder pattern. Take a look at the statement that draws the ellipse:
    draw.ellipse()
        .color(DARKGREEN)
        .w(200.0)
        .h(230.0)
        .x_y(100.0, -50.0);
You might expect to see a function that draws an ellipse take parameters that define the ellipse; perhaps something like:
ellipse(DARKGREEN, 200.0, 230.0, 100.0, -50.0);
The difficulty here is that each of those values has a default, so you might not want to specify one or all of them. Also, there are many more values you might specify, such a depth, which you would use to decide which objects would be on top of which other objects in the drawing. You certainly don’t want to specify that and other parameters if you don’t need them; that would make your function calls very long and tedious. Another consideration is that the function call above is hard to read. Sure, DARKGREEN can be assumed to be a color, but what are those numbers representing? Height, width, position on the screen? Something else? Which is which?
The builder pattern solves these issues. draw.ellipse() returns an ellipse to appear on the canvas. On that, we call color(DARKGREEN) which returns the same ellipse, but with the color set to (you guessed it!) dark green. On that ellipse, we call w(200.0), which returns that same dark green ellipse, but with the width set to 200.0. Because all these methods just return the same ellipse with whatever change was requested, these can be chained together until we have made all the changes we want to make. No need to worry about filling in any parameters you don’t want to change, and the overall statement is easy to read and understand as “draw a dark green ellipse that is 200 units wide and 230 units tall at the coordinates (100, -50)”.
These statements define the objects that go onto the canvas, but they don’t draw them on the screen. That’s what the last statement in view() does: draw the canvas onto the frame, so we can see it.
That’s all there is to it!
This was a Nannou sketch, which, as I mentioned, is just a fast, simple way to get a drawing to display. The view() function is running over and over, so it would be possible for it to do something different each time to create an animation. However, a sketch is missing the ability to store state. There is no way to keep track of what is going on on the screen and to modify in a logical manner. In my next post, we’ll look at a Nannou app as an alternative to the Nannou sketch and show how it solves the problem of storing state, as well as adding many other useful capabilities.