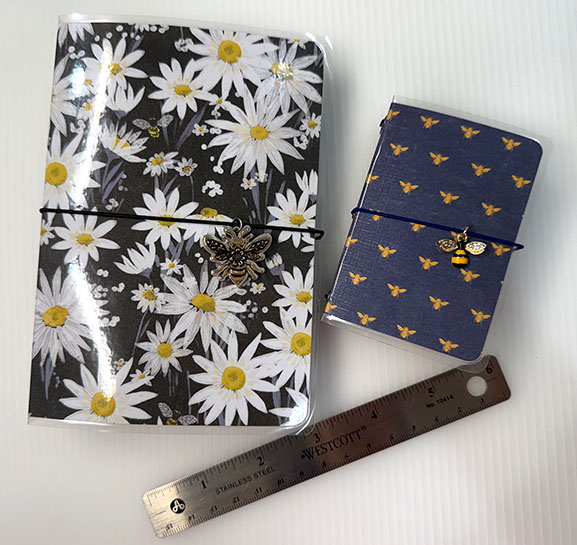
How do you art journal? Do you draw in a book? Do you create individual works of art? Do you use a spiral bound book you bought at your local craft store? Do you “junk journal”?
Do you journal regularly? Daily? Never?
Lots of questions to think about!
I normally art journal daily… but the tools I use vary depending on what type of art I am creating!
If I am tangling (Zentangle) I generally use a zentangle tile. This is a stand alone piece of art paper. While the size can vary somewhat, they all have the same “quality”.
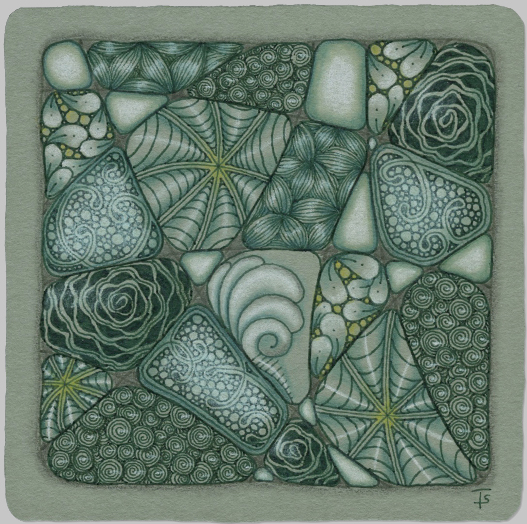
On this final day of 2025, I wanted to try something a bit new as a jump-start for the new year!
This begins with a green, multi-media paper. I have been looking for a green paper to play with because all of the decorator paint colors for 2026 are in the grey/blue-green family.
I was in a local art store, getting a new sketch book to begin the new year. Browsing through the various papers, I came across this pad of green, mixed-media paper from Clairefontaine. The color is lovely, although a little bit darker than I though I wanted. But I decided to purchase it and give it a try for various techniques.

This is a simple, warm-up/morning meditation tile.
When I am feeling uncreative, or it’s been a while since I’ve been tangling, I elect to do something rather simple where I can concentrate on simple strokes and enter that repetitive, drawing, zen state of mind.
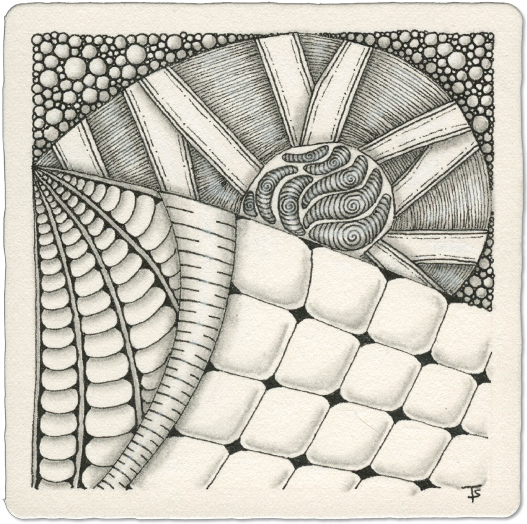
Here, I created the Mooka shapes first. I didn’t have any kind of plan, I just wanted to draw big, curvy shapes. Next I chose a random grid fill tangle, which was Cadent, in this case. It turned out to be more challenging than I planned on, but that’s OK.
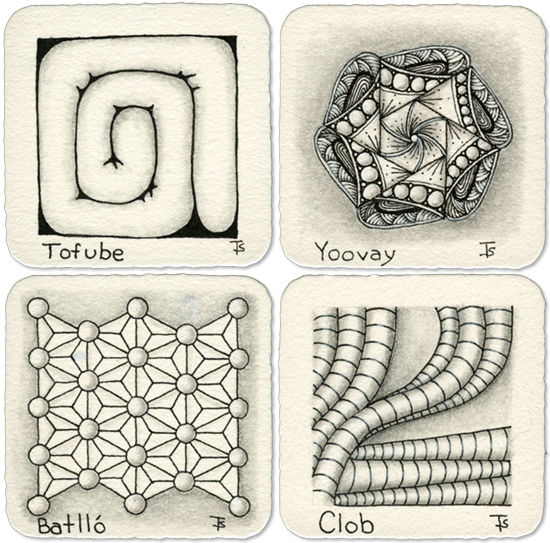
Zensnacks: Tofube, Yoovay, Tofube and Clob
Tofube was created by Damy (Me Hua) Teng. It was inspired by the look of a rolled up quilt or bed mat. It can be drawn as a rectangle, spiral, or triangular shape. This versatile tangle can be used as a grid tangle, drawn as indivitual shape filler, or you can use multiple versions to fill an irregular shape!
Yoovay, was created by Shei Naritomi. This beautiful blossom tangle is much easier to draw than it apears here. I chose to add all the embellishment because I thought it was beautiful. I did wish I had done it on a full-sized tile. I will probably do that soon.
Project Pack 28 - Day 1
The video for this day’s project is located here .
This 12 days of Zentangle Project pack takes insipiration from the drawings of Leonardo da Vinci. The base color of the tiles is a bit darker than the standard tan, Zentangle Renaissance tiles. The colorings and inspiration is taken from various drawings, but then interpreted in the Zentangle style. Below is an example of a page of drawings from Leonardo’s sketches.
Random string, random and selected tangles.
Generating random tangles is kind of like opening a box of chocolates…
After drawing the string, which I liked, it was time to select random tangles. I knew where to put Claws right away. I also decided to split the V’s to add a little more texture and interest to them.
Next came Sproing. Again, not a problem. I thought it would look fine in that weird, narrow space.

Selected tangles, no string.
Thanksgiving is such a wonderful time to gather with friends and family and share a meal together, watch the football game, and celebrate the season.
This tile is my artistic, visual celebration of the season. It could be a table centerpiece, or a large arrangement near the front door to welcome everyone and invite them in.
Toodles is the base of the arrangement, gathered in a group, just like all the people gathered around the table. Thanksgiving, a tangle by Kelley Kelly, is the fern-like shapes that rise above the group of leaves. And the Poke-Root is the friends that come to share the day with us.
I was going to create a tile with totally random tangles. The first one I got was Icanthis. And that’s what started this tile.
I also was thinking about Gratitude and a text came from the school about… Gratitude!
So, this tile is all about gratitude for the abundance we have and giving thanks.
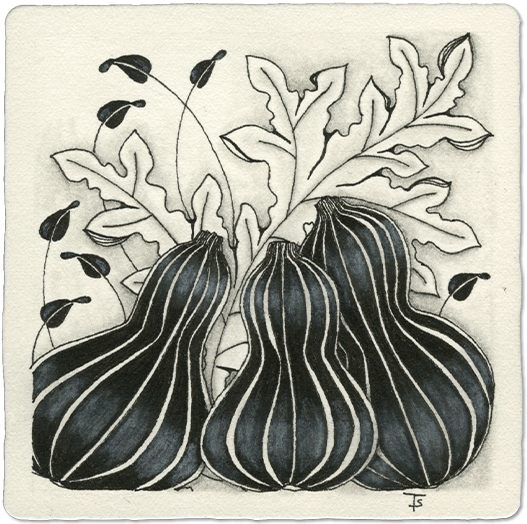
Right now, there is a beautiful butternut squash sitting on my sideboard. I am planning on roasting it in the oven tomorrow evening, and adding it to a pot of fantastic Southwest chili for the weekend.
Random Tangles, no string.
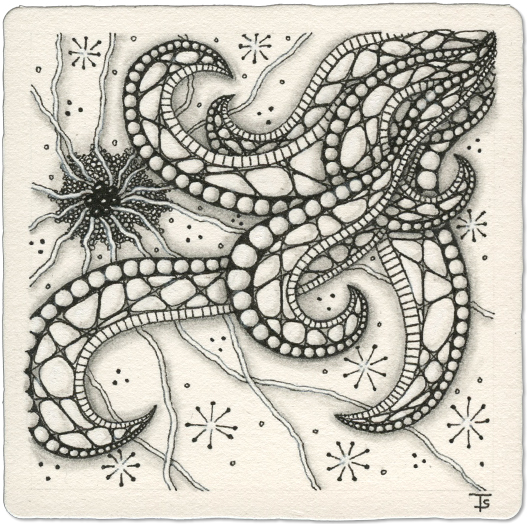
I was very exicted when the first two tangles in my random selection were Gust, from Sandy Steen Bartholomew and Squid! I thought it would be lots of fun to have them together on the same tile!
I drew Gust first, since it has the fatter “arms. Then I drew Squid, using the draw behind method.
The third tangle selected was Therefore. I chose Aah myself, because I thought it would combine well with the other “dot” tangle.
Random tangles, reclaimed tile.
This tile had curving line, including the spiral at the top already drawn on it when I pulled it out yesterday morning. I don’t ditch tiles that I don’t like. I put them into the stack of matching colored tiles to work on some other time.
I couldn’t think of what to do with it, so I started pulling tangles at random. Mythograph was about the third one. Perfect! I decided to run with it, adding the spiral to the ends of all the branches.
Random tangles, random string.
Using random choices is one of my favorite ways to tangle. I pull out a tile, draw my dots, connect them, create a string without thinking much about it and then randomly select enough tangles to fill the spaces.
Next, I look at the tangles and figure out where is the most effective placement. Then it’s all tangling until the tile is full.
I find this to be very Zen because there are minimum decisions to make. It’s kind of like coloring with crayons when you are little… Only now, I’m coloring with tangles!
Random tangles, no string.
The first two tangles that came up in the random selection were Anooka and Verdigogh. I immediately had a mental image of what to with them on my tile. So I tangled these.
Looking at the tile, I wanted to add more leaves in the upper right quadrant. I thought about using Toodles, but when trying to figure out what to put in the lower left to balance out the design, I realized it would be better to use Poke Leaf above and Poke-Root below.
Random tangles, no string.
The first tangle selected was Bumper, and I immediately used it as a frame.
The next three tangles were Butria, Centepede and Kiss. I liked that combination. I added the Centepede first to break up the center of the tile. Next, the three Kisses were grouped together, slightly overlapping to fill the larger, right-hand space. A single Butria was added in the lower left to anchor the center elements.
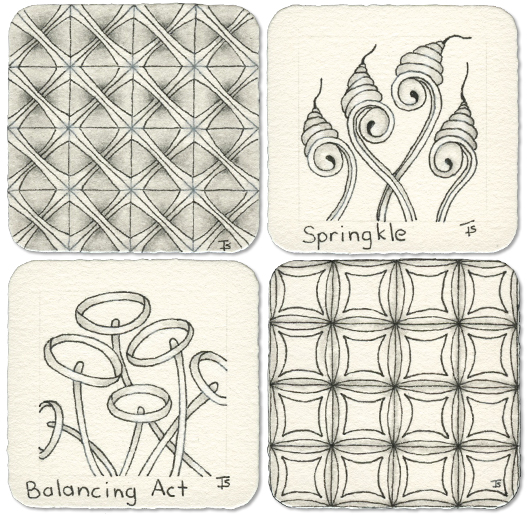
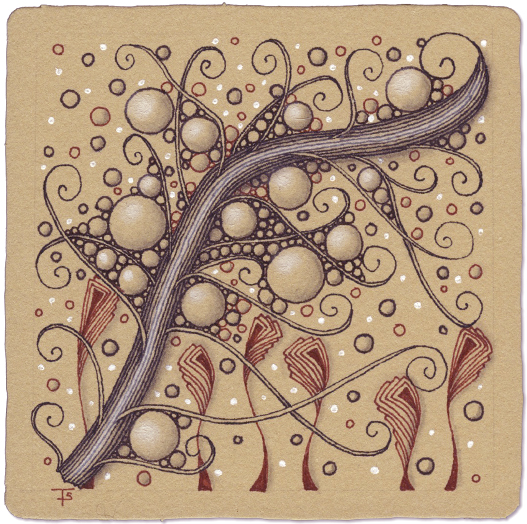
ZenSnacks: B’Twined, Springkle, Balancing Act, Bales
I did these over the weekend, finishing them this morning. I chose two grid tangles and two organic tangles.
I love the way the visual focus of B’Tweed, changes as it is drawn and shaded. It is created inside of a normal grid and then becomes a visual diagonal pattern with the focus on the crosspoint!
Springkle is just fun! It can be used as a tangle enhancer, part of a blossom, or stand on it’s own! They can be drawn in a group to create an organic climbing tangle or ribbon. It’s a very versatile tangle.
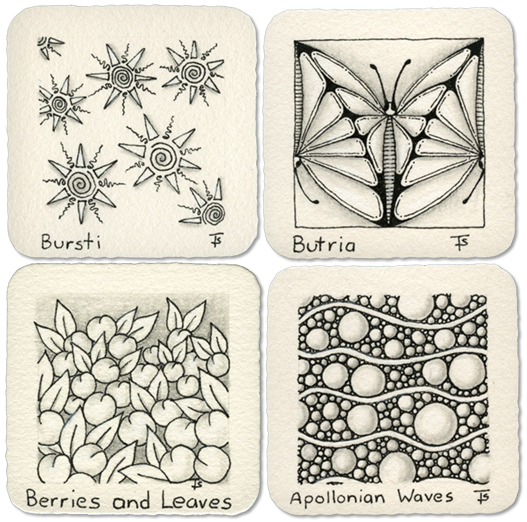
Zensnacks: Bursti, Butri, Berries and Leaves, Apollonian Waves
The previous post explained what “zensnacks” are.
This set, created over the last few days, are individual tangles, rather than Fragments.
Life is still crazy. I had an extra teen over the weekend. While that was going on, my insane cat decided to walk behind my iMac, which is on a riser. This resulted in it crashing down onto my gaming mouse. The end result was that the glass on the screen cracked in places and part of it shattered. This was while it was turned on.
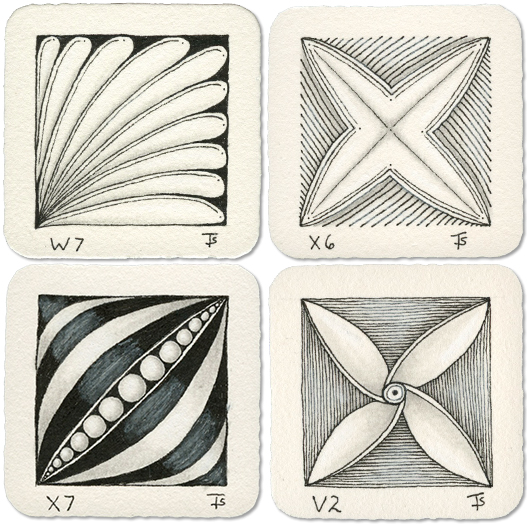
ZenSnacks: Fragments V2 W7 X6 X7
When I don’t have a lot of time, or my attention span is having issues, but I still want to tangle, I turn to Bijou tiles. These small, two-inch square tiles allow me to complete something in a much shorter period of time. I refer to these as “ZenSnacks”.
I frequently use Bijou tiles to tangle a small amount of a particular tangle, along with it’s name, that I keep in an index I can browse through to look for a particular tangle I can’t remember the name of.
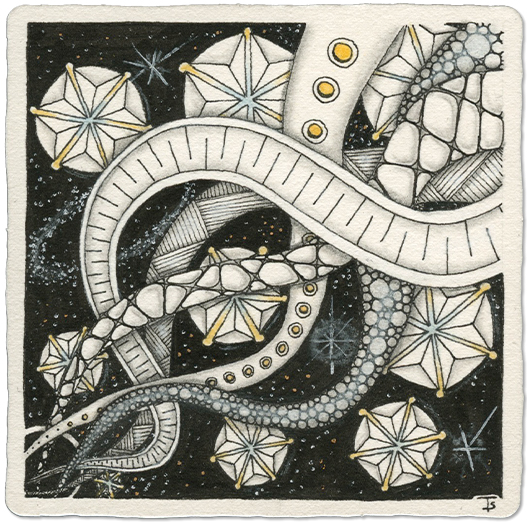
The inspiration for this tile came from Pere Cobo CZT . He is an amazing tangler and human being. He uses Zentangle to help homeless children at the Dar Chabab day center in Catalunya, Spain.
He has a very special style, part outer space, part interdimensional universes and part video game graphics. He has created many tangles that he uses when tangling and many interesting tangelations of common tangles.
He recently posted a tile he created that was really interesting and encouraged others on the Mosaic app to give it a try.
I was thinking about creating a Monotangle of some kind for every tangle that I know. I think they would be a good reference for teaching. So I selected a tangle at random, which turned out to be Puf and started on my tile.
This is the result.
During the time I was tangling, I had numerous interruptions, not the least of which was having dental surgery to remove a molar!
Chosen tangles, no string.
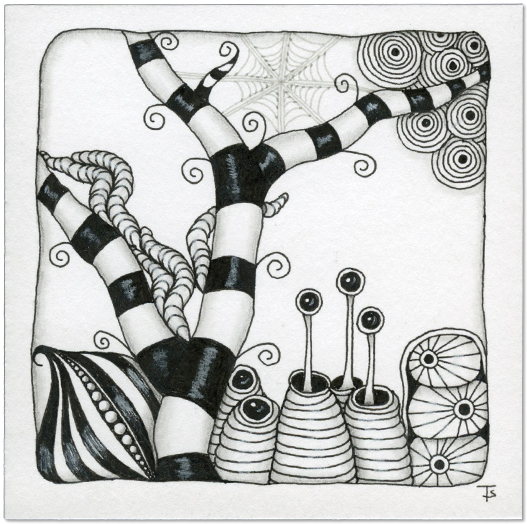
This tile is influenced by the Nightmare Before Christmas.
Last month, I did the InktoberTangles challenge. That didn’t give me the opportunity to create a fun, Halloween-style tile. So, I decided to do it now.
I love creepy-cute and Halloween. I’ve created art journals on this theme, and I’ve done a few tiles in the past, which you can see here . If you look through the Zentangle Gallery on this site, you can probably find more that fit this theme.
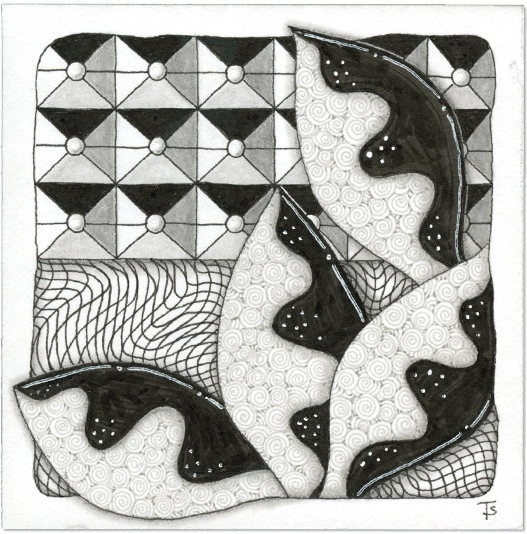
No string, Random Tangles, and Printemps.
This tile was driven by the first tangle in the random selection which was Yin-Yang Leaf. I immediately decided to make several quite large in a cluster at the bottom, right of the tile.
The second tangle selected for me was Purlbox. I was happy about that one because I thought the dark areas of the tangle would hold up well with the dark areas on the leaves.